How to Detect Hidden Water Leaks at Home
Most homeowners overlook subtle signs of hidden leaks, but you can find them by monitoring your water meter with all fixtures off, checking for unexplained bill increases, inspecting ceilings, walls and floors for stains or soft spots, listening for constant dripping, testing toilets with dye, and examining appliances, irrigation lines and the crawlspace for moisture or mold. You should act promptly to stop damage and contact a plumber when tests indicate persistent flow.
Understanding Water Leaks

Before you start inspecting, understand that water leaks arise from pressure, material degradation, poor installation, and environmental factors; knowing how pipes, seals, and building materials fail helps you focus your checks and reduce repair costs.
Common Sources of Water Leaks
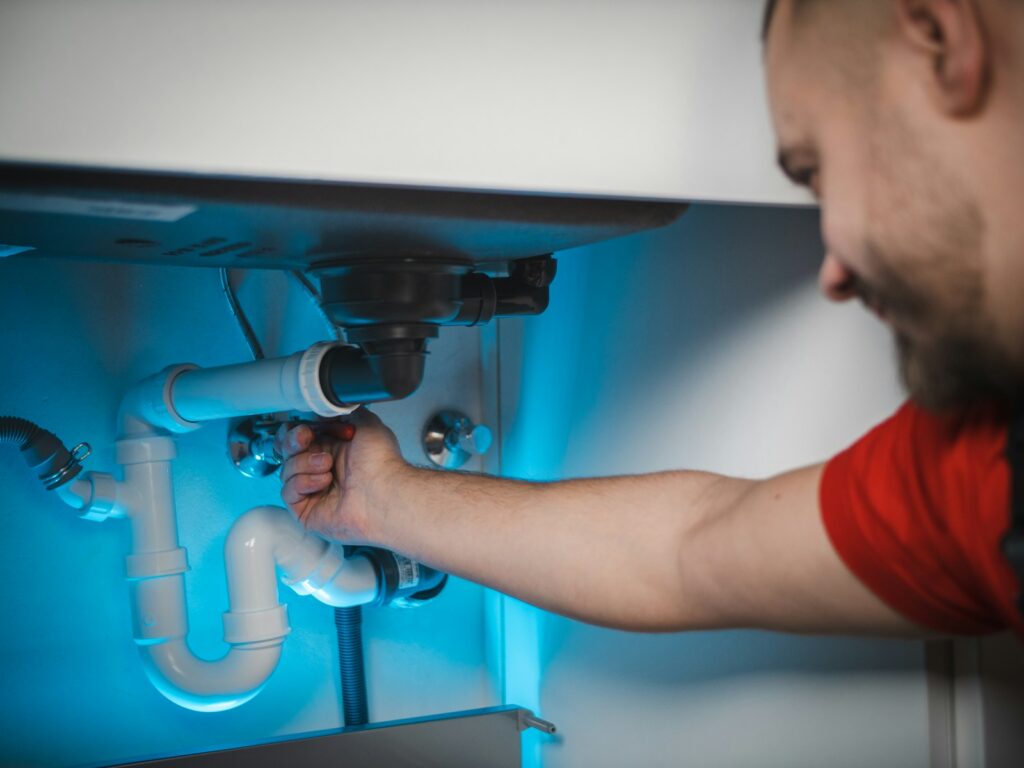
One frequent source is supply line fittings under sinks and behind toilets, plus appliance connections, aging pipe joints, roof flashings, window seals, and basement cracks that you should inspect routinely.
Signs of Hidden Water Leaks
Between unexplained rises in your water bill, persistent damp patches, musty smells, warped floors, or warm wall sections, you can spot indicators of concealed leaks early.
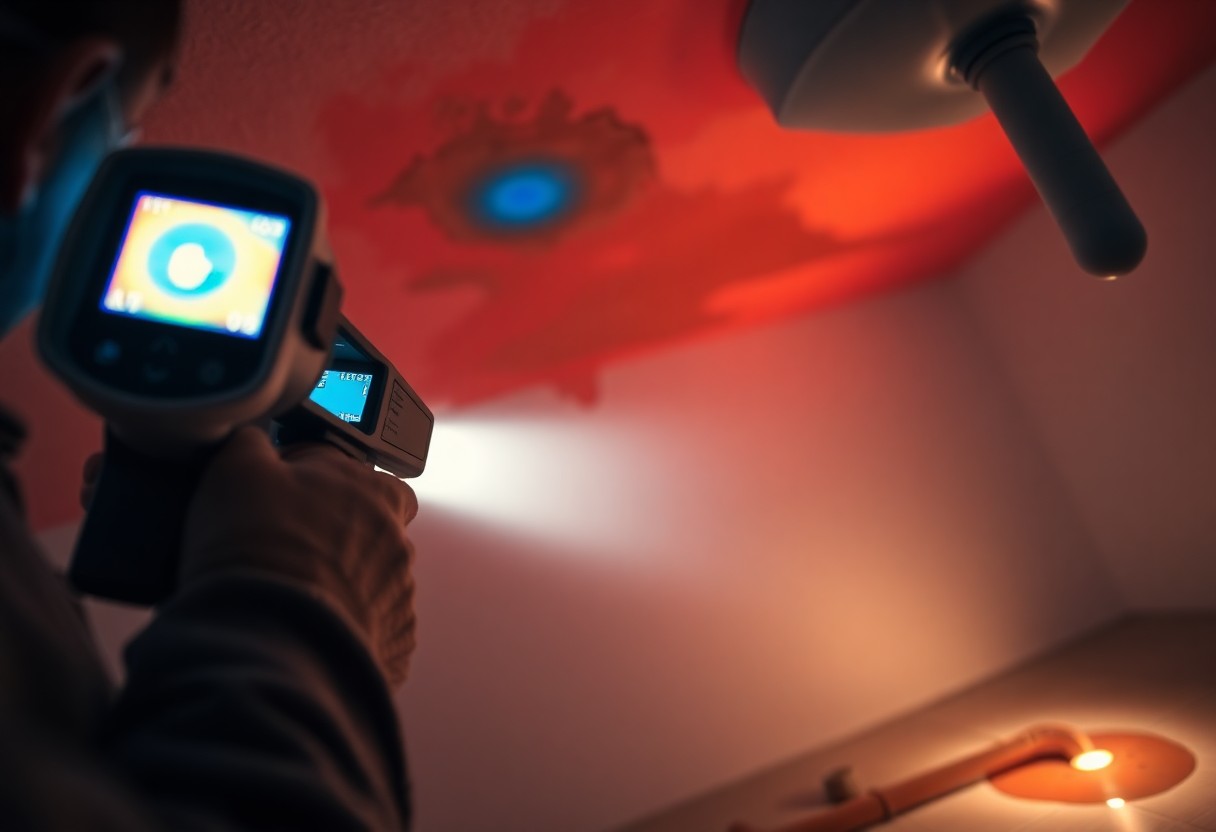
The simplest actions to confirm signs are reading your meter with all water off, feeling for temperature changes in walls and floors, using a moisture meter or infrared camera, and checking ceilings, basements, and crawlspaces so you can pinpoint and fix leaks promptly.
Tools and Equipment for Leak Detection
Even with basic plumbing knowledge, you can locate hidden leaks using the right tools; you should prioritize accuracy, safety, and minimal disruption while inspecting your home to protect your property and lower water bills.
Essential Tools for Homeowners
Among the basic tools you should keep are a flashlight, adjustable wrench, water meter check, moisture meter, and plumber’s tape; these let you detect obvious leaks, secure fittings, and verify wet spots without specialized training.
Advanced Detection Devices
Advanced acoustic detectors, thermal cameras, and electronic leak correlators give you precise location and severity data so you can plan targeted repairs and avoid unnecessary wall or floor removal.
- Acoustic leak detector – hears pipe noise through materials.
- Infrared thermal camera – shows temperature differences from wet areas.
- Electronic correlator – pinpoints underground or pressurized pipe leaks.
Advanced Device Comparison
| Device | Primary Benefit |
| Acoustic detector | Noninvasive pinpointing in walls/floors |
| Thermal camera | Visualizes moisture-related temperature changes |
| Correlator | Locates underground or long-run leaks |
Due to sensitivity and cost, you should weigh renting devices, taking basic training, or hiring a licensed technician to interpret data and avoid false positives that could lead to unnecessary repairs.
- Rent before buying to test usefulness for your home.
- Calibrate and follow manufacturer instructions for each device.
- Hire a pro for complex or concealed system leaks.
Use & Limitations
| Consideration | Recommended Action |
| Device cost | Rent or borrow for occasional use |
| Skill required | Train briefly or consult a technician |
| False positives | Combine tools and visual checks |
DIY Leak Detection Methods
Some straightforward DIY methods help you find hidden leaks before they cause major damage: perform systematic visual checks, monitor your water meter for unexplained flow, use pressure and dye tests on fixtures, listen for running water behind walls, and deploy simple tools like a flashlight, mirror, and moisture meter so you can often pinpoint leaks quickly and decide whether to repair or call a professional.
Visual Inspections
Along with checking obvious wet spots, you should inspect ceilings, walls, baseboards, flooring seams, appliance connections, and under sinks; look for stains, peeling paint, warped wood, musty odors, or mold. Use a flashlight, open access panels, and follow pipes where possible so small signs reveal the path and source of a hidden leak you can then trace.
Meter and Pressure Tests
Below are quick meter and pressure checks you can do: shut off all fixtures, record the water meter reading, wait an hour without using water and recheck for movement; attach a pressure gauge to an outdoor faucet to monitor any drop after isolating the system – persistent change indicates a leak that needs investigation.
Methods for the meter test: shut off all valves and appliances, note the meter dial or digital reading, avoid using water for 30-120 minutes, then check for any rotation or change; for pressure tests, cap the system, attach a gauge, pressurize to normal system pressure, and watch for a steady decline – measurable loss over time points to a hidden leak and may require targeted inspection or professional locating services.
Professional Leak Detection Services
Unlike home DIY checks, professional leak detection gives you precise, non‑invasive diagnostics using thermal imaging, acoustic sensors and video inspection, so your leaks are located quickly and accurately; technicians provide documented findings, repair recommendations and timelines that help you avoid repeated disruptions and unexpected costs.
When to Call a Professional
Professional intervention is warranted when you see unexplained water stains, mold growth, persistent dampness, unusually high water bills, hear running water with no fixtures on, or when DIY efforts fail; call early to limit structural damage and to protect your health and property.
What to Expect from a Service
Around the inspection, expect an initial assessment, leak localization with acoustic or infrared tools, camera pipe inspection as needed, pressure testing, a written report with photos and cost estimates, and guidance on repair options so you know exactly what will be done and why.
Plus many providers coordinate with your insurer, offer emergency response and warranties on detection work, explain long‑term fixes versus temporary patches, and give you preventive advice to reduce future leaks, helping you make informed decisions about repairs and budgeting.
Preventing Future Water Leaks
Not all leaks are visible; you should schedule seasonal inspections, monitor your water bill for unexplained increases, check seals and fittings around fixtures, and install smart leak detectors so you can act quickly and limit damage to your home.
Regular Maintenance Tips
At regular intervals you should inspect accessible plumbing and appliances and perform simple upkeep; basic tasks include:
- Inspect under sinks and around toilets for dampness or stains
- Test and exercise shut-off valves to ensure they work
- Replace worn supply hoses and tighten loose fittings
Any persistent moisture or unusual odours should prompt you to act and contact a licensed plumber.
Upgrading Plumbing Systems
Alongside routine checks, you should prioritize replacing aging galvanized pipes, fitting braided stainless steel connectors to appliances, and upgrading valves so you can isolate leaks quickly and reduce the chance of failures.
Plumbing upgrades you choose should favor durable materials like PEX or copper, include accessible shut-offs at fixtures so you can stop leaks immediately, and be planned with a licensed plumber to ensure lasting protection for your home.
Summing up
To wrap up, you should regularly monitor your water meter and bills, watch for stains, musty odors, warped floors or peeling paint, and test toilets and appliance hoses; use moisture meters or infrared cameras and place leak detectors near vulnerable fixtures. Promptly isolate suspected leaks, shut off valves, and call a plumber if readings or damage persist to limit water waste, structural harm, and mold growth.