How Residential Solar Panel Systems Work

Solar panels convert sunlight into electricity via photovoltaic cells, forming the core of residential systems that supply your home with power; an inverter changes the panels’ direct current into the alternating current your appliances use, while mounting, wiring, and a monitoring system manage energy flow and safety, and grid connection or battery storage lets you use, store, or export excess generation.
Understanding Solar Energy

Your home harnesses sunlight through photovoltaic panels: photons strike silicon cells, freeing electrons to produce direct current (DC), which an inverter converts to alternating current (AC) for your appliances while surplus energy can charge batteries or be exported to the grid.
The Basics of Solar Power
About photovoltaic systems, panels made of silicon cells generate DC when illuminated, wiring routes that power to an inverter that supplies your AC loads, and proper panel orientation, tilt, and shading management determine how effectively your system performs.
Benefits of Solar Energy
Beside lowering your electricity bills, solar reduces your reliance on utilities, decreases greenhouse gas emissions, can increase property value, and often qualifies you for incentives or net metering that accelerate your system’s payback and improve long-term savings.
But you should consider upfront costs, roof suitability, local sunlight and permitting; while maintenance is minimal, panels and inverters degrade over time, and adding battery storage boosts resilience but raises overall system cost.
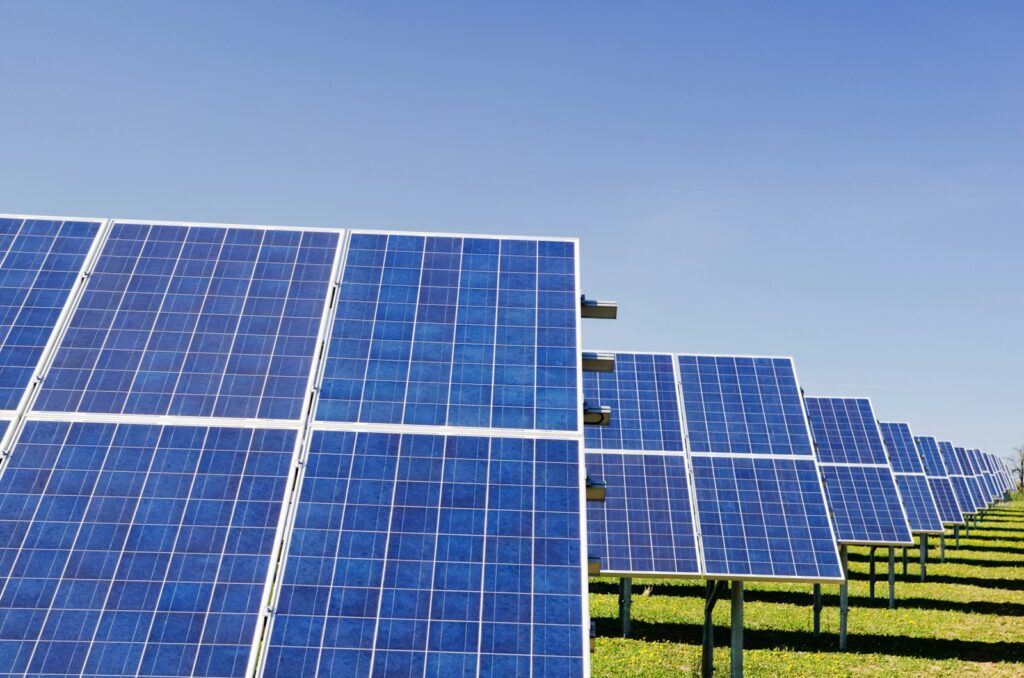
Components of a Solar Panel System
Some major parts make your system work: solar panels to harvest sunlight, inverters to convert DC to usable AC, mounting systems to secure panels, batteries for storage, and electrical components and monitoring to manage performance and safety, all sized to match your energy needs and property constraints.
Solar Panels
Solar panels contain photovoltaic cells that convert sunlight into DC electricity; you choose panel type, efficiency, and orientation to maximize production, and you monitor shading, tilt, and upkeep to keep output high and predictable over the system’s life.
Inverters
Along with converting DC from your panels into AC for home use, inverters handle power optimization, safety functions, and communication; you’ll compare central, string, and microinverters based on performance, shading tolerance, and budget to match your array.
In addition, inverters offer features like maximum power point tracking (MPPT), grid-tie or hybrid operation, remote monitoring, and anti-islanding protection, so you should select one that fits your goals for storage, backup, and system visibility.
Mounting Systems
Among options for roofs and ground mounts, racking secures panels at the proper tilt and orientation to withstand wind and snow; you’ll assess roof type, structural load, and access for wiring and maintenance when choosing rails, clamps, and flashings.
Inverters are often sited near your electrical panel, so when planning mounts you must allow conduit runs, service clearances, and access for installation and repairs to ensure safe, code-compliant routing between array and equipment.
Batteries
To store excess generation for night or outages, batteries provide backup and load-shifting; you evaluate capacity (kWh), power (kW), chemistry, cycle life, and warranty to size storage that meets your reliability and cost objectives.
System battery choices also involve a battery management system (BMS), depth-of-discharge limits, temperature controls, and maintenance requirements, so you should balance lifecycle cost, performance, and warranty support for long-term operation.
How Solar Panels Generate Electricity
To convert sunlight into usable electricity, your solar panels use silicon photovoltaic cells that absorb photons, freeing electrons and creating an electric field; those freed electrons flow as direct current (DC) through wiring to your inverter, which conditions the power for your home’s alternating current (AC) loads while system controls manage output, safety, and interaction with the grid or batteries to supply your energy needs efficiently.
Photovoltaic Effect
Any photon striking the semiconductor gives energy to electrons, enabling them to cross a junction and produce charge separation; you harness this effect by connecting multiple cells in series and parallel to increase voltage and current, so the resulting DC can be routed through wiring to your inverter and balance-of-system components for conversion and use in your home.
Conversion Process
Effectively, the electricity from your panels is DC, which your inverter converts to grid-compatible AC while monitoring frequency and voltage; you can optimize performance with maximum power point tracking (MPPT), and the inverter coordinates with metering, safety disconnects, and battery systems to ensure reliable power for loads and export when appropriate.
Hence, when you choose an inverter type-string, microinverter, or hybrid-you influence system efficiency, shading tolerance, and how easily your system integrates with batteries and smart energy controls, and proper sizing and placement ensure losses are minimized, protection devices are in place, and your installer can program settings for peak performance and grid compliance.
System Installation and Setup
Not every installation follows the same timeline; your installer will design the layout, obtain permits, coordinate with the utility, and schedule work so your system meets local codes and is ready for activation.
Site Assessment
Setup begins with a thorough survey of your property: your roof orientation, tilt, shading, structural capacity, and electrical service are evaluated so you and the installer can size the array and choose optimal panel placement.
Installation Process
Site work involves mounting racking, fastening panels, running DC and AC wiring, installing inverters and safety equipment, and connecting to your electrical panel while the installer follows safety and inspection protocols for your system.
Installation typically takes from a single day to several days depending on size; you can expect roof penetrations to be sealed, conduit routed, inverters commissioned, system performance tested, and final inspections before you go live.
Maintenance and Monitoring
Keep a routine inspection and monitoring schedule so you can catch issues early; you should visually check panels for debris, ensure mounts and wiring are secure, and respond to inverter alerts. Annual professional inspections, documented service records, and timely cleaning help maintain output, safety, and warranty eligibility for your system.
Regular Maintenance Tasks
Among routine tasks you should clear leaves and dirt, clean panels with soft water or a manufacturer-approved method, trim shading vegetation, check for loose connections or corrosion, and inspect roof penetrations and fasteners; schedule a professional check annually to verify inverter performance and overall system integrity.
Performance Monitoring
About monitoring, you should use the inverter app or a third-party energy monitor to track real-time production, compare actual output to expected values, set alerts for drops, and review trends monthly so you can identify faults, shading, or degradation quickly.
A detailed approach for your performance monitoring includes establishing a baseline for seasonal output, normalizing production using irradiance and temperature data, logging downtime events, and coordinating with your installer for diagnostics when production deviates significantly to protect system efficiency and long-term savings.
Financial Considerations
All financial decisions around solar affect your long-term bills and home value; you should weigh upfront costs, financing options, expected utility savings, and the payback period to decide if a system fits your budget and goals.
Cost of Installation
At installation you should expect costs for panels, inverters, mounting, labor, permits, and inspections; prices depend on system size, roof complexity, and local labor, and you can reduce your out‑of‑pocket by financing, leasing, or shopping multiple quotes.
Incentives and Tax Credits
Against the upfront expense you can offset your investment with federal tax credits, state rebates, and utility incentives, so you should research which programs apply to your property and how they lower your net cost.
Understanding how incentives stack improves your planning; you should verify federal Investment Tax Credit eligibility, check state and local rebate requirements, confirm if net metering credits your bill, and factor timing and documentation into your payback calculations.
To wrap up
Presently you benefit from panels that convert sunlight into DC power, an inverter that transforms DC to AC for your appliances, and a system controller or meter that directs surplus to batteries or the grid, lowering your energy bills and dependence on utilities. Proper siting, correct sizing, routine maintenance, and performance monitoring help you maximize output and lifespan.